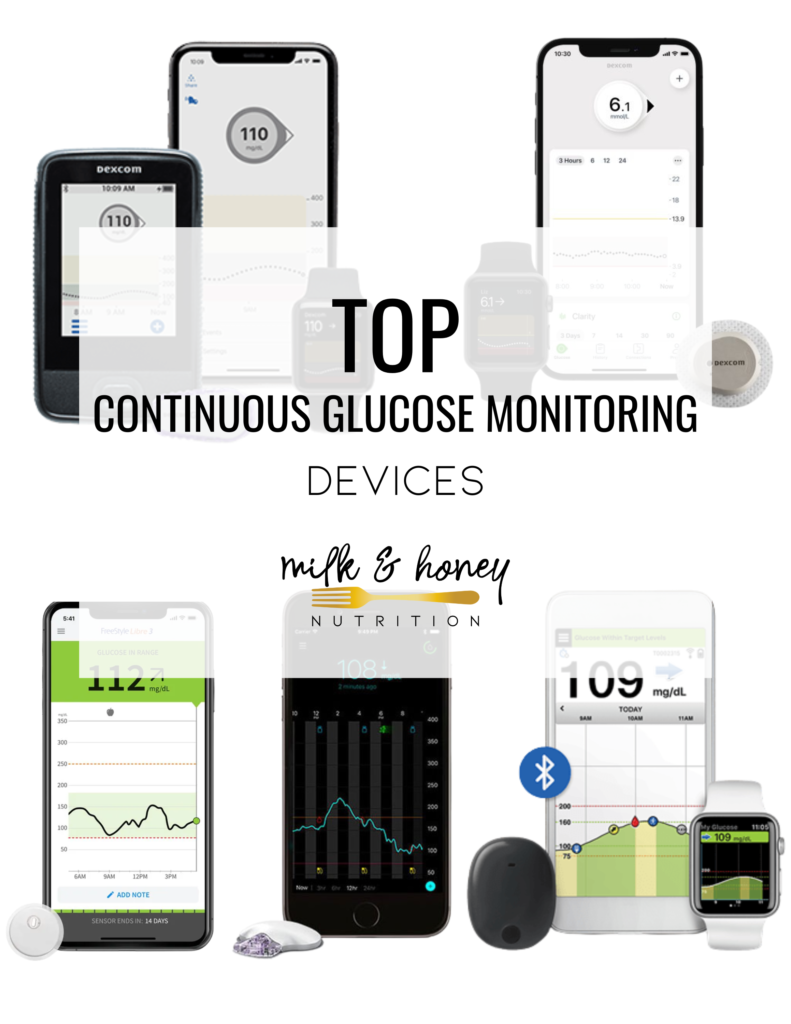
Continuous Glucose Monitoring Devices have come a long way in the last 10 years!
A continuous glucose monitoring device can reduce or eliminate the need for finger stick blood sugar checks. But, what device should you choose?
Checking your glucose levels is a vital part of managing all forms of diabetes. Knowing when to take medication and how much is needed is essential to reach your diabetes goals. That’s where glucose monitors come in. Glucose monitors are used to measure the amount of glucose in your blood at a given time. Many of the monitors, until recently, required a finger stick and strips to test the blood.
***This article is not intended to provide medical advice, diagnosis, opinion, treatment or services. This article and the links contained in it provide general information for educational purposes only. The information provided in this article is not a substitute for medical care, and should not be used in place of the advice of your physician or registered dietitian.
How does a continuous glucose monitor work
A continuous glucose monitor (CGM) device reduces the need for finger pricks and strips by inserting a small sensor on the back of the arm or abdomen. Once the sensor is inserted you can get a new blood glucose reading at any time with a small handheld device or phone! This device or smartphone will give you the freedom to check your glucose levels at any time and anywhere without the hassle of a finger prick test. (For more information on insulin pumps make sure to check out this post.)
Below you will see four different continuous glucose monitoring devices to choose from. Let’s get into what each one has to offer.
Freestyle libre continuous glucose monitor
Freestyle is a common name in blood glucose monitoring… many of their products are the finger stick and strip method, but they have come out with a continuous glucose monitoring device called Freestyle Libre. Currently, there are two versions on the market: Freestyle Libre 2 and Freestyle Libre 3 (the latest version). Both can be found in many pharmacies for purchase with select insurance or self-pay.
There are a few notable differences between the two versions, but we’ll start with the similarities. First, they both have a 14-day length of the sensor. This means the sensor will be at it’s most accurate for 2 weeks. Next is good news, the price! Even though the Freestyle Libre 3 is newer, it’ll be sold at the same price as the Libre 2.
Now for the differences. What’s really special about the Freestyle Libre 3 is the size. It is compared to 2 pennies stacked on top of each other. The Freestyle Libre 2 is around 2 quarters stacked, which is still very small.
Next is accuracy. The Freestyle Libre 3 is the first continuous glucose monitoring system that has a MARD score below 8%, making it the most accurate option on the market. The Freestyle Libre 2 has a MARD score of 9.2%.
Freestyle Libre 2
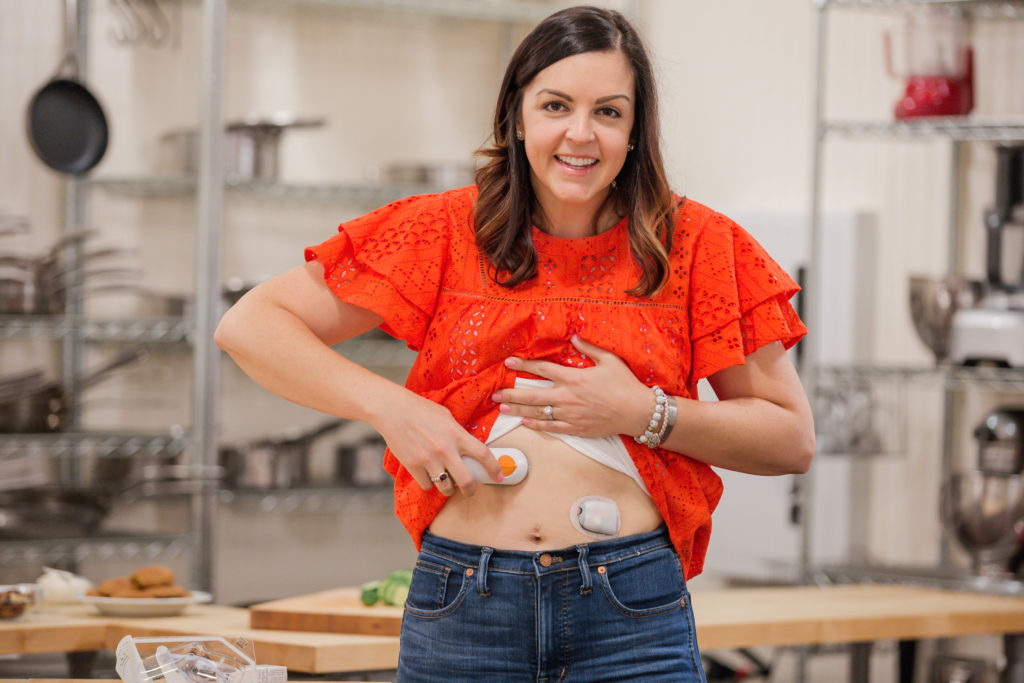
The two versions also have different methods of sending numbers to your reader. When you first get started with the Freestyle Libre 2 you will receive two boxes. One box will contain a reader used to collect data and the other will contain a waterproof sensor and a sensor applicator. Applying the sensor is pretty simple. To set up the applicator simply open the package to the sensor, open the applicator, line it up and push down. That’s it, now it is ready to be inserted! You insert the sensor using the sensor applicator on the back of the arm.
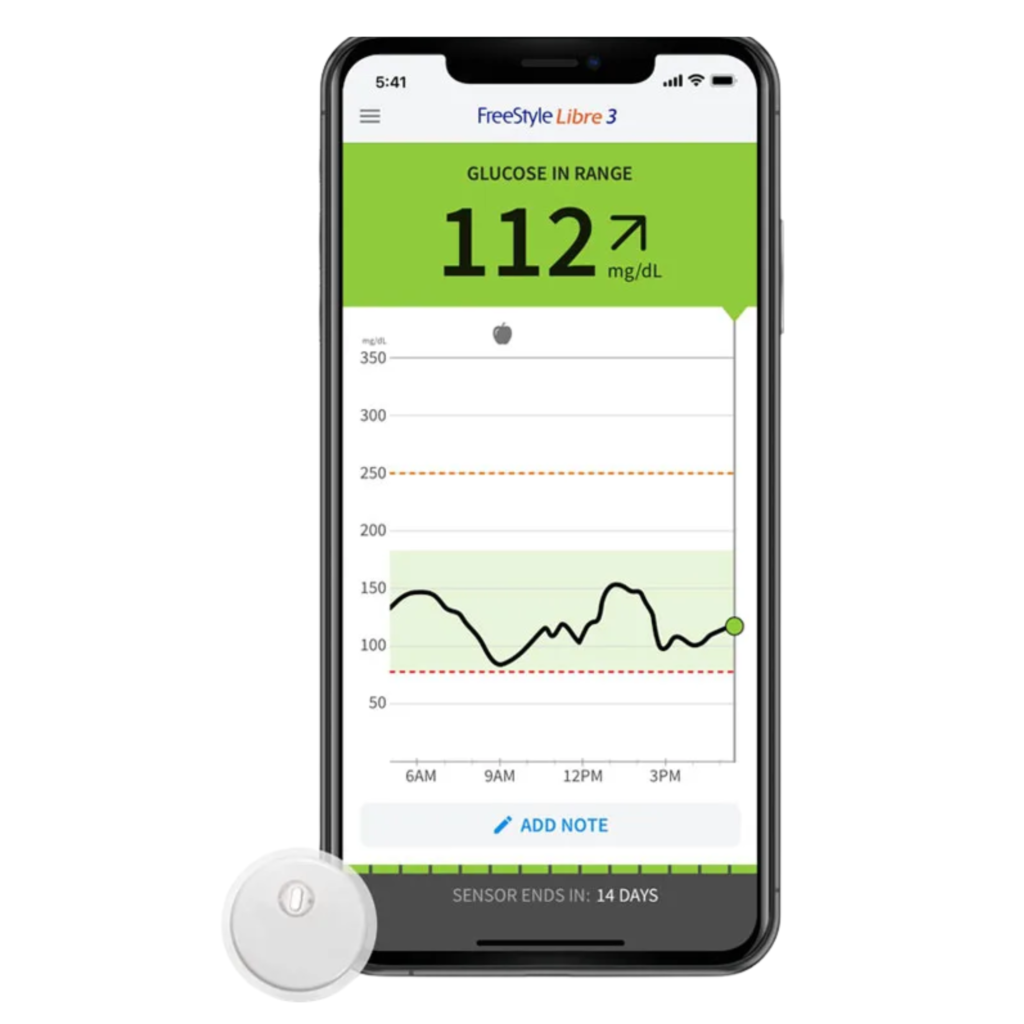
After inserting the small sensor into the upper arm you can set up the new sensor with the reader by following the instructions on the touchscreen. You can also use your smartphone to set this up. To do a reading, you hold the device up to the sensor, about 1 ½ inches away, and wait for a ding. Scanning can be done through clothing. Once the reading is taken you will see your glucose level appear on the screen, along with a trend arrow and an 8-hour graph of glucose history. You even have the ability to add notes about things that may affect your glucose readings, like the amount of insulin used, food intake, and exercise.
Freestyle Libre 3
The Freestyle Libre 3 is different from its predecessor because it no longer provides a reader. It is only compatible with smartphones to set up and do the readings (both iOs and Android). It also does not require scanning your phone to conduct readings, because the data is automatically sent to the Libre 3 app every minute! However, you will need to scan in the beginning in order to set up the sensor with your smartphone. For both the Freestyle Libre 2 and 3, you will see a screen with the reading, trend arrow, 8-hour graph, and the ability to add notes. In addition to the FreeStyle Libre 3 App there is an additional app called LibreLinkUp. LibreLinkUp allows friends, family, and caregivers to help monitor glucose levels. These apps have helped continuous glucose monitoring with Freestyle Libre become easier.
Medtronic continuous glucose monitor
If you have read my previous blog about insulin pumps, you might be familiar with the Medtronic continuous glucose monitoring device. Like the Freestyle Libre, The Guardian sensor is a small monitor that is inserted into the skin for a continuous glucose reading. The Guardian can be inserted into the abdomen or the back of the arm with an insertion device called a Serter. The insertion takes a little more time to insert and must be held down with tape, so it is a little more complicated than the Libre insertion.
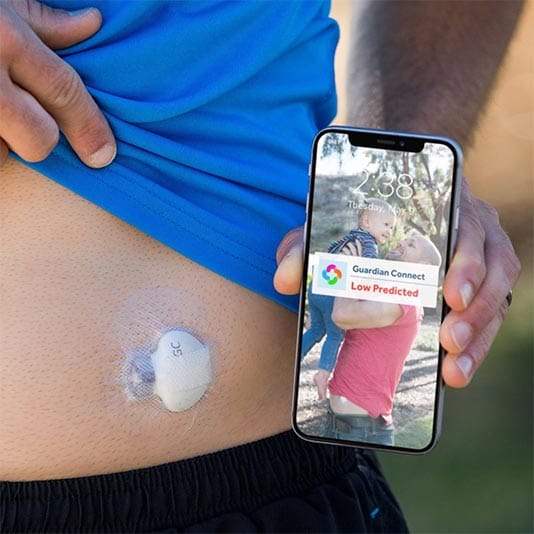
After the insertion of the sensor, a rechargeable Bluetooth transmitter is plugged into the sensor in order to get direct readings every 5 minutes. Readings will be recorded to your phone or device depending on if you are using the guardian with an insulin pump or not.
Before connecting your transmitter to the sensor (placed on the upper arm or abdomen), you need to download the app and connect by Bluetooth to the transmitter. The app is only available on Apple devices, so consider this before choosing this CGM. In the app store search for the Guardian Connect app and download. To get started you must have a Carelink account so either log in or create one. Once you are logged in you can begin the pairing of your transmitter by following the steps on the app. After pairing you can choose the carbohydrate measure that works best with your monitoring, whether it be exchanges or grams. Afterward, you can set up your notifications and alerts.
You will always receive an alert at 70 mg/dL or if your level is trending towards 70 mg/dL. Other alerts you are able to set yourself with the help of your healthcare team. These alert settings can always be changed as you learn more about your body and glucose numbers. You can set an alarm for when your levels are too high and/or low so you can manage your blood glucose levels with food or insulin depending on your treatment plan.
You can also have alerts sent to another person like a spouse or caretaker. These alerts are not something that is included with the Freestyle Libre since you are manually getting glucose readings instead of an automatic reading every 5 minutes. The Guardian Sensor can also predict a low or high level as much as 60 minutes before it occurs.
The last thing we are going to talk about with the Guardian sensor is the Sugar.IQ Diabetes Assistant app. This technology helps uncover reasons why your glucose levels are high or low at a specific point in time and helps to discover patterns in your blood sugars. Along with the Guardian Connect App, you can analyze intake, insulin dosages, and daily routines. For example, exercise or strenuous activities can affect the amount of insulin being accepted into the cells. Understanding your own body’s reaction to exercise can help you better prepare for the possible lows that come with exercise.
Dexcom g6 continuous glucose monitor
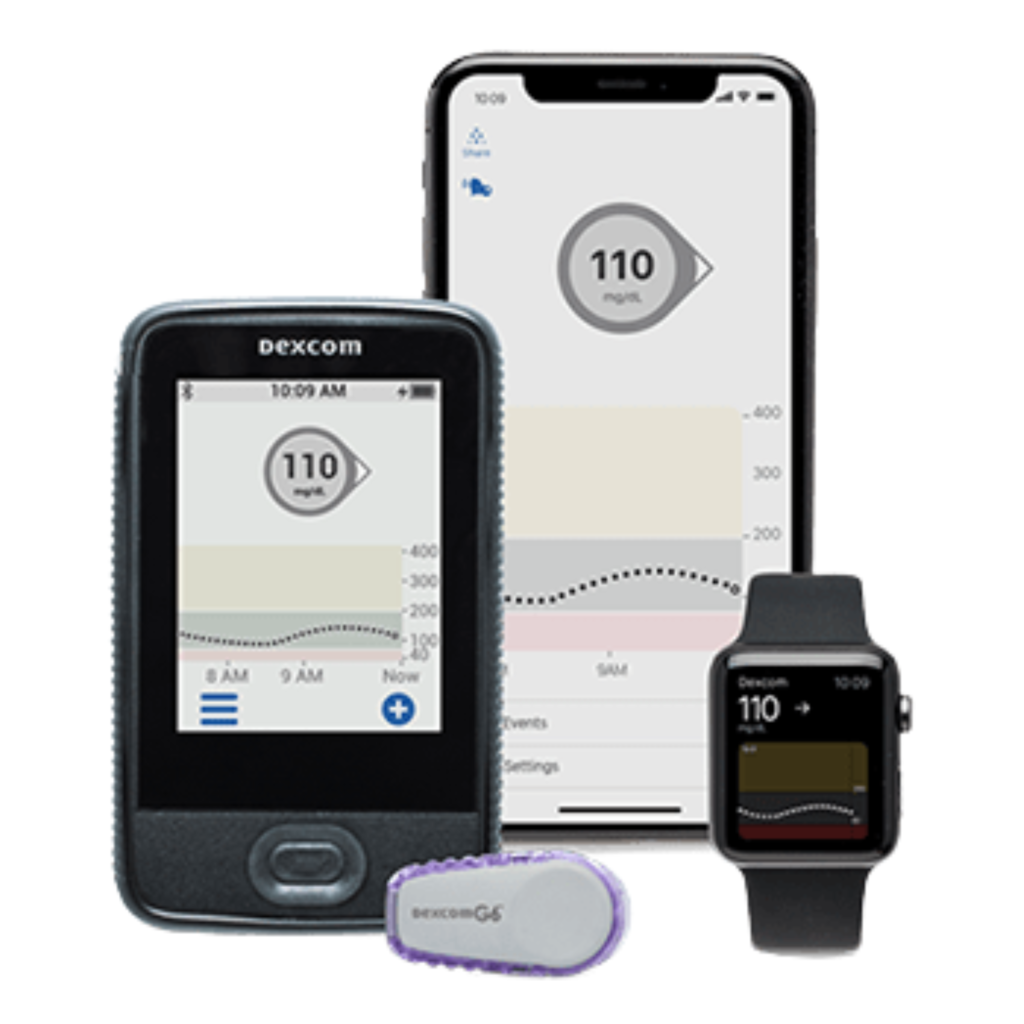
The last continuous glucose monitoring device we will be going over is the Dexcom G6. The Dexcom G6 is probably the most simple to insert out of the previous CGMs because the sensors are preloaded into separate insertion devices. After cleaning the insertion site (back of the upper arm or abdomen) with an alcohol wipe simply place the insertion device on the area and at a push of a button your sensor is inserted.
After insertion, your transmitter (the piece that send the information to your smart device) is able to be attached to the sensor and you can begin getting glucose readings after a 2 hour warm up. The thin waterproof sensor will be able to last up to 10 days before a change is needed and the transmitter will need to be replaced after 3 months.
Glucose readings can be recorded and stored via the receiver provided by Dexcom, or an app installed on your smartphone. Whether you choose the receiver or the app, your setup process will be about the same. If you are choosing to use your smart-phone simply download the Dexcom G6 app from your app store. You will have to log into your Dexcom account or create one to continue.
After watching a few videos and getting a short tutorial you will be able to set your high and low alerts. This simply means when you have a low alert the circle with your glucose reading will turn red and a sound alert will go off. The same goes for a high alert, but the circle will turn yellow. Around the circle there is also a trend arrow. This arrow will inform you of the direction your glucose levels are heading. This arrow can help you combat the possible highs and lows you might experience.
After setting the alerts you will have to enter the number located on the sensor and the serial number on your transmitter. This will allow the transmitter to connect via Bluetooth to receive glucose readings. The glucose reading is taken every 5 minutes and can even be sent to your apple watch.
Dexcom g7 continuous glucose monitor
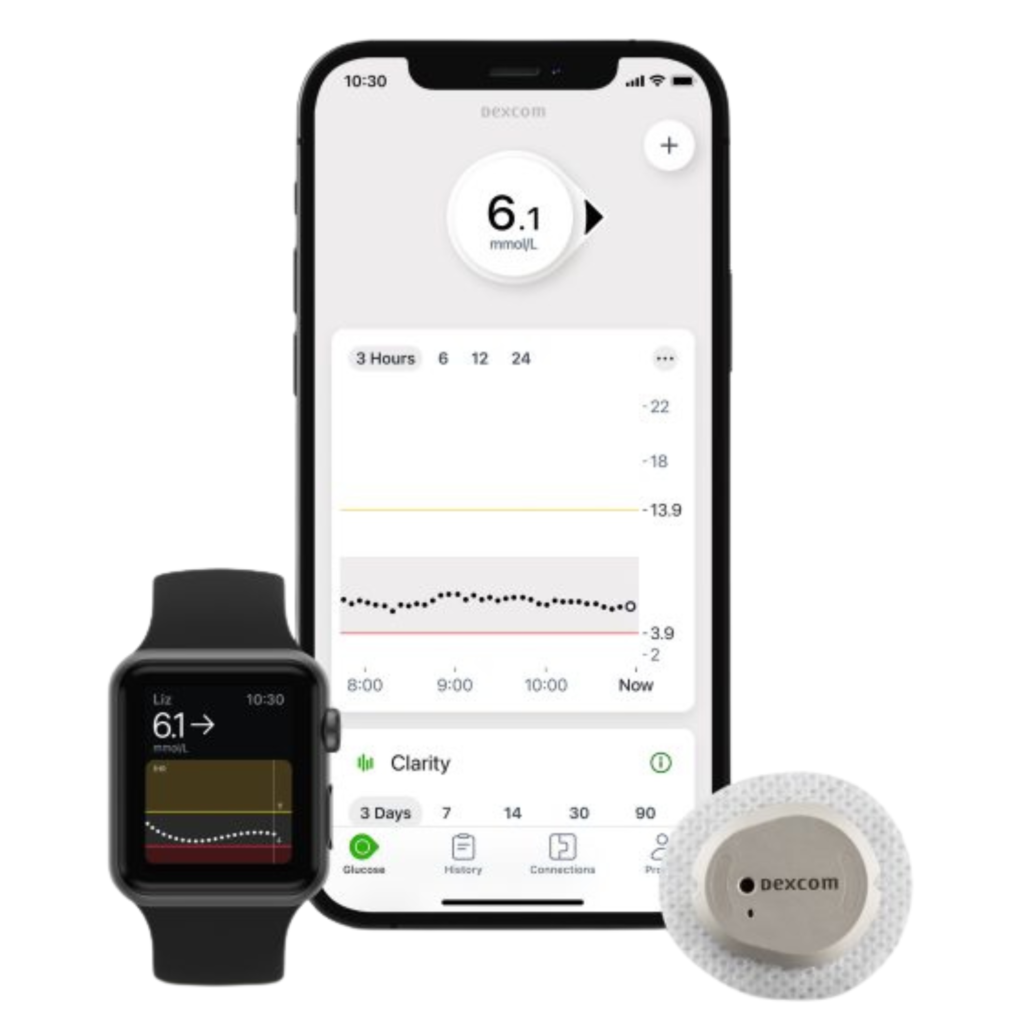
We just discussed the Dexcom G6, but the newest Dexcom CGM has been recently FDA approved and will be released early 2023. The Dexcom G7 has many notable new and updated features in addition to the ones mentioned early about the G6. The first difference is the size difference: It is 60% smaller than the G6 and has a more circular shape with a shorter plastic filament that goes into the body, similar in appearance to the Freestyle Libre.
This makes wearing the G7 more comfortable and less noticeable than the G6. The next difference is the application process. While the G6 requires a 2-step application for the sensor and the transmitter, the G7 is designed to have a 1-step application process. Other updates are the increased accuracy of the readings, a short warm-up time of 30 minutes, the ability to turn off alarms for up to 6 hours, and a 12-hour grace period after expiration after 10 days of usage to change the sensor.
Eversense E3 continuous glucose monitor
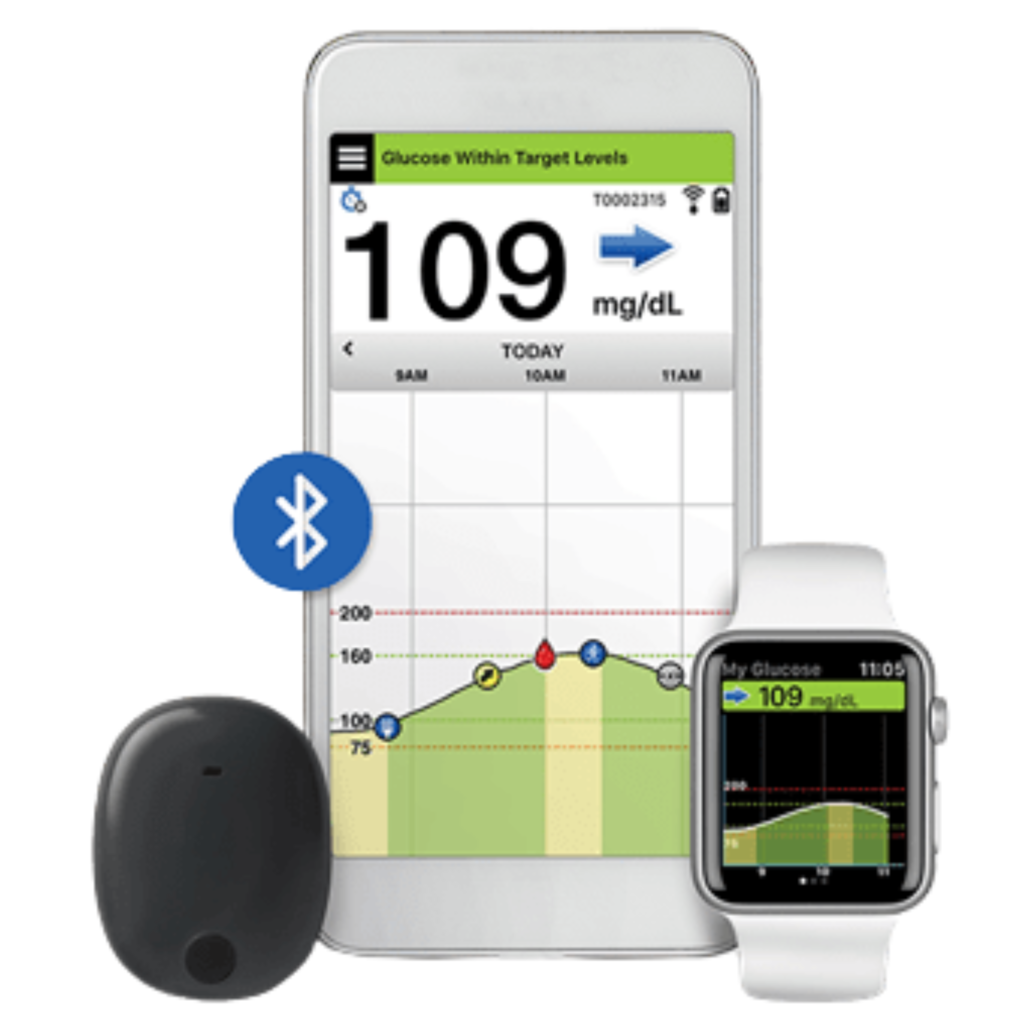
The last continuous glucose monitoring device we will be going over is the Eversense E3, the only CGM system that will need to be implanted by a healthcare provider. The insertion is not painful, but will require additional costs to cover clinical visits for the insertion.
It is approved for usage in adults 18 years and older. The most notable feature of this CGM is its longevity, with a lifespan up to 180 days. Not only is it the longest lasting CGM, its accuracy is also impressive, with a MARD (mean absolute relative difference) score of 8.5%.
The biggest drawback is the extended warm-up time of 24 hours compared to the 1-2 hour warm-up time of other CGMs. However, the 24-hour warm-up time may be deemed insignificant, depending on the user, in light of the 180 day lifespan.
Like the other CGM devices, the Eversense E3 also allows data to be sent to a smart device or a smartphone via app and can share data and alerts with selected caregivers. The data is transmitted using a transmitter that is attached to the arm, over the sensor. The transmitter is rechargeable, water-resistant, and removable. However, it is important to note when not attached, your smartphone or device is unable to read the blood glucose levels.
Like all of the continuous glucose monitoring devices listed above, you will be able to understand the trends of your glucose levels by an easy to read graph. You can also share all of the data from your glucose monitoring with friends, family, and healthcare professionals to help manage your diabetes.
Continuous glucose monitoring without diabetes
In the past few years, commercialization of continuous glucose monitors for people without diabetes has exploded. Nutrisense, Levels, and Signos are the most notable brands to offer glucose monitoring systems for individuals, claiming that their technology and programs will improve the user’s metabolic health.
Currently, there is limited research on the benefits of utilizing continuous glucose monitors for people without diabetes. One study found that participants without diabetes had normal blood glucose levels throughout the study period.
Another study’s findings suggested that the use of a continuous glucose monitoring device prompted increased motivation to engage in healthy behavior changes, such as exercise. However, there are currently no studies that can prove the health claims many companies are stating to improve an individual’s overall health and energy levels.
While monitoring glucose can benefit individuals with high risk for developing diabetes by detecting prediabetes, there are few benefits of continuously monitoring blood glucose without an actual diagnosis of diabetes.
Continuous glucose monitoring systems are expensive medical devices, meant to provide concrete health benefits and improve quality of life in those with diabetes. Therefore, the necessity of the device and clear health benefits provide justification for the expense for people who have been diagnosed with diabetes. However, those without diabetes who purchase these devices may be unnecessarily spending on a temporary health fad.
More to come
Technology in the world of diabetes is ever changing and improving over time. As science and technology progresses, the options for continuous glucose monitoring will continue to expand. Continue to be on the lookout for updates to stay educated on the latest CGM products.
Continuous glucose monitoring options chart
If you are crunched for time, check out the table below with information about each CGM.
| Freestyle Libre 2 | Freestyle Libre 3 | The Guardian Sensor | Dexcom G6 | Dexcom G7 | Eversense E3 | |
| Prescription Needed | Yes | Yes | Yes | Yes | Yes | Yes |
| Cash Cost* | Device: ~$65 Sensors: ~$68 | Device: ~$65 Sensors: ~$68 | Transmitter:~$1000 Sensor: ~$600 (3) | Transmitter: ~$500 Sensor: ~$500 (3) | n/a | Transmitter: ~$600 Sensor: ~$1000 Clinical Cost for Insertion: ~$600 |
| Covered by Insurance | Dependent on insurance | Dependent on insurance | Dependent on insurance | Dependent on insurance | Dependent on insurance | Dependent on insurance |
| Automatic Reading | No | Yes | Yes | Yes | Yes | Yes |
| Warm up time | 1 hour | 1 hour | 2 hours | 2 hours | 30 minutes | 24 hours |
| Alerts | No | No | Yes | Yes | Yes | Yes |
| Low/High Prediction | Yes | No | Yes | Yes | Yes | Yes |
| Age | 18 years + | 18 years + | 2 years + | 2 Years + | 2 years + | 18 years + |
| Waterproof | Yes | Yes | Yes | Yes | Yes | Water-resistant (transmitter) |
| Sensor Life | 14-days | 14-days | 7-days | 10-days | 10-days (with 12 hr grace period) | 180 days** |
| App Available for Android | Yes | Yes | No | Yes | Yes | Yes |
| App Available for Apple | Yes | Yes | Yes | Yes | Yes | Yes |
*Prices are estimates
**Requires a healthcare provider to surgically implant sensor
This post was originally published in November 2020, and was updated in January 2023 to reflect current technology.


3 Responses
I use the Freestyle libre 2 and it has a low high prediction and it sends you alerts when your levels are low or high. You can also scan with the app on your phone for apple and android.
I noticed you hadn’t mentioned the Libre2 in your comparison. I just switched to Libre2 this month and it has the alarm capability, which I love! The accuracy seems much improved to me than the original Libre.
Thank you for sharing such an informative blog. It helped to get better clarity. You guys are doing a great job.