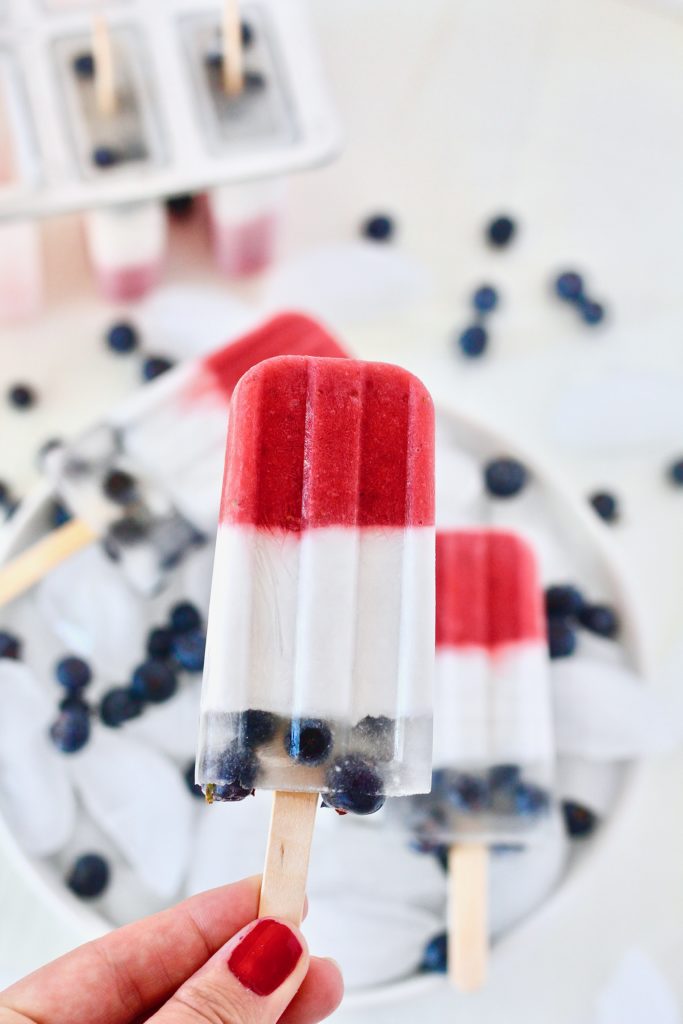
These Homemade Red White and Blue Popsicles are the perfect frozen treat! They’re made with fresh fruit and have no added sugar or artificial colors!
Summer offers a host of patriotic holidays and plenty of occasions for sweet frozen treats. These red white and blue popsicles take advantage of in season fruits for some natural sweetness. And thanks to the beauty of fresh fruit, there’s no need for artificial dyes or colors!
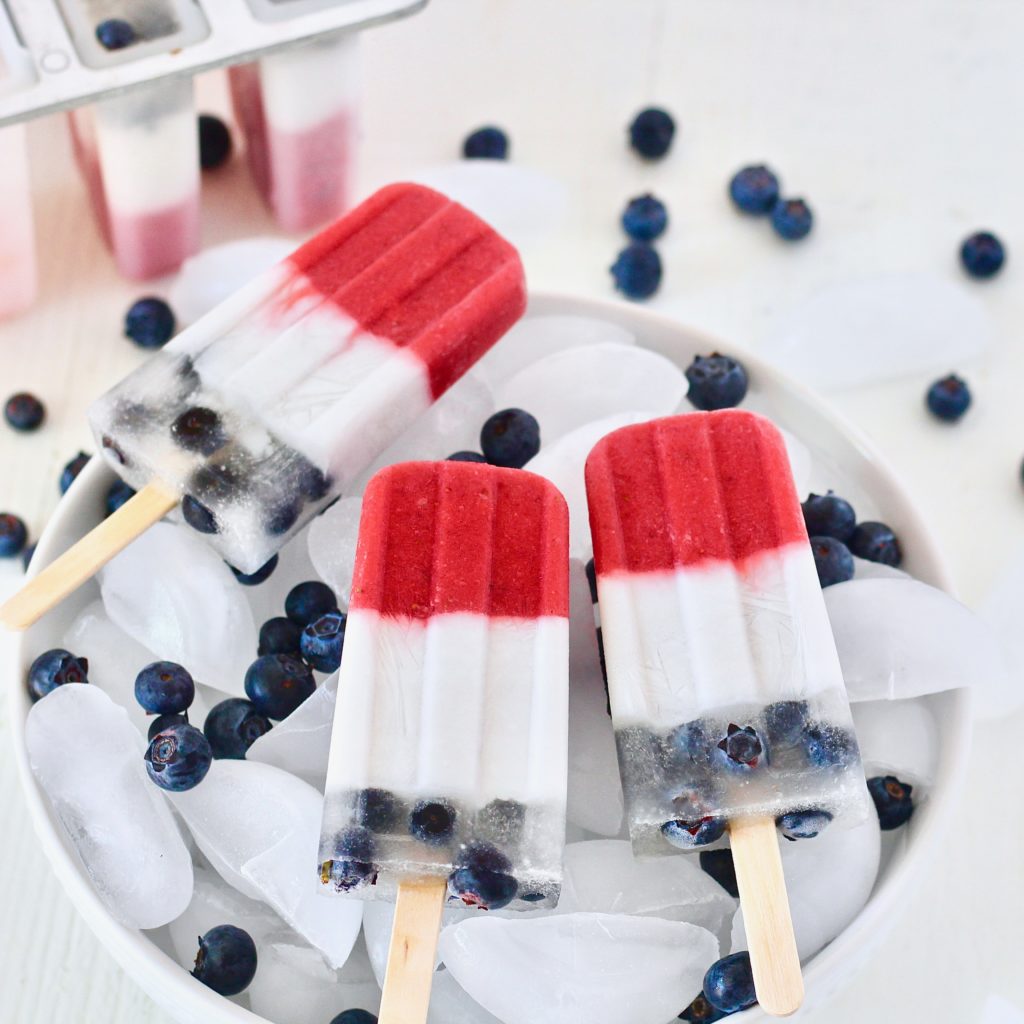
Use these molds to make homemade popsicles
The key to not only making tasty, but also beautiful looking homemade popsicles is you need to have the right equipment. And the great thing about popsicles molds, is most of them are VERY affordable.
I found this one on amazon years ago and still love it! And you can grab popsicle sticks at almost any craft store!
The hardest part about making homemade popsicles is almost always waiting for them to freeze so you can enjoy them!
Healthy homemade popsicles for the win!
One thing I love about making popsicles at home with my kids is just how easy it is to get the flavors and colors you want without adding any extra sugar. For these red white and blue popsicles, all you need is fresh fruit (strawberries and blueberries), some coconut cream, coconut water, and water.

How to make my red white and blue popsicles
The homemade popsicle mold I use has you build you popsicles upside down, so we start with the layer that will actually be the top of the popsicle but is at the bottom of the mold. The red layer weighs the most so we want to do that one first.
To make the red layer: Blend a pint of fresh strawberries, with the tops cut off, 2 Tbsp of our coconut cream, and 1/4 cup water in a blender. Then carefully pour the batter into each of your 8 molds, filling each about 1/3 of the way full.
Now, if you’re like me and want your red white and blue popsicles to have nice clean lines, you can use a funnel to fill the molds so there’s no drip page on the sides 🙂
Now we freeze the molds for 30 minutes.
To make the white layer: Mix 1/2 cup of the coconut cream (make sure you’ve stirred the can well before measuring it) with 1/3 cup water. This does not have to be exact at all. We are simply watering it down some so it’s easy to pour into the molds.
At this step, you’ll carefully place the popsicle sticks in the molds, and then free ze for another 30 minutes.
To make the blue layer: Pull the homemade fruit popsicles out of the freezer and add some blueberries to the top of each mold then fill to the top with coconut water.
Freeze for another 2-4 hours. then enjoy!!
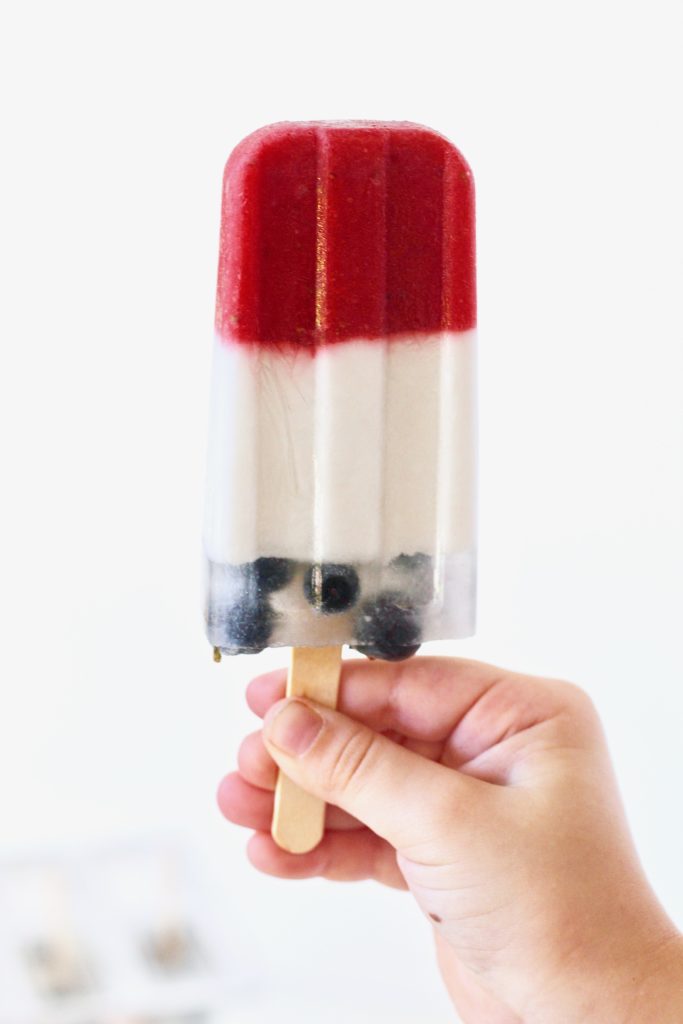
If you like this recipe, make sure to check out my recipes for Pina Colada Pops and No Added Sugar Orange Creamsicles too!

Homemade Red White and Blue Popsicles
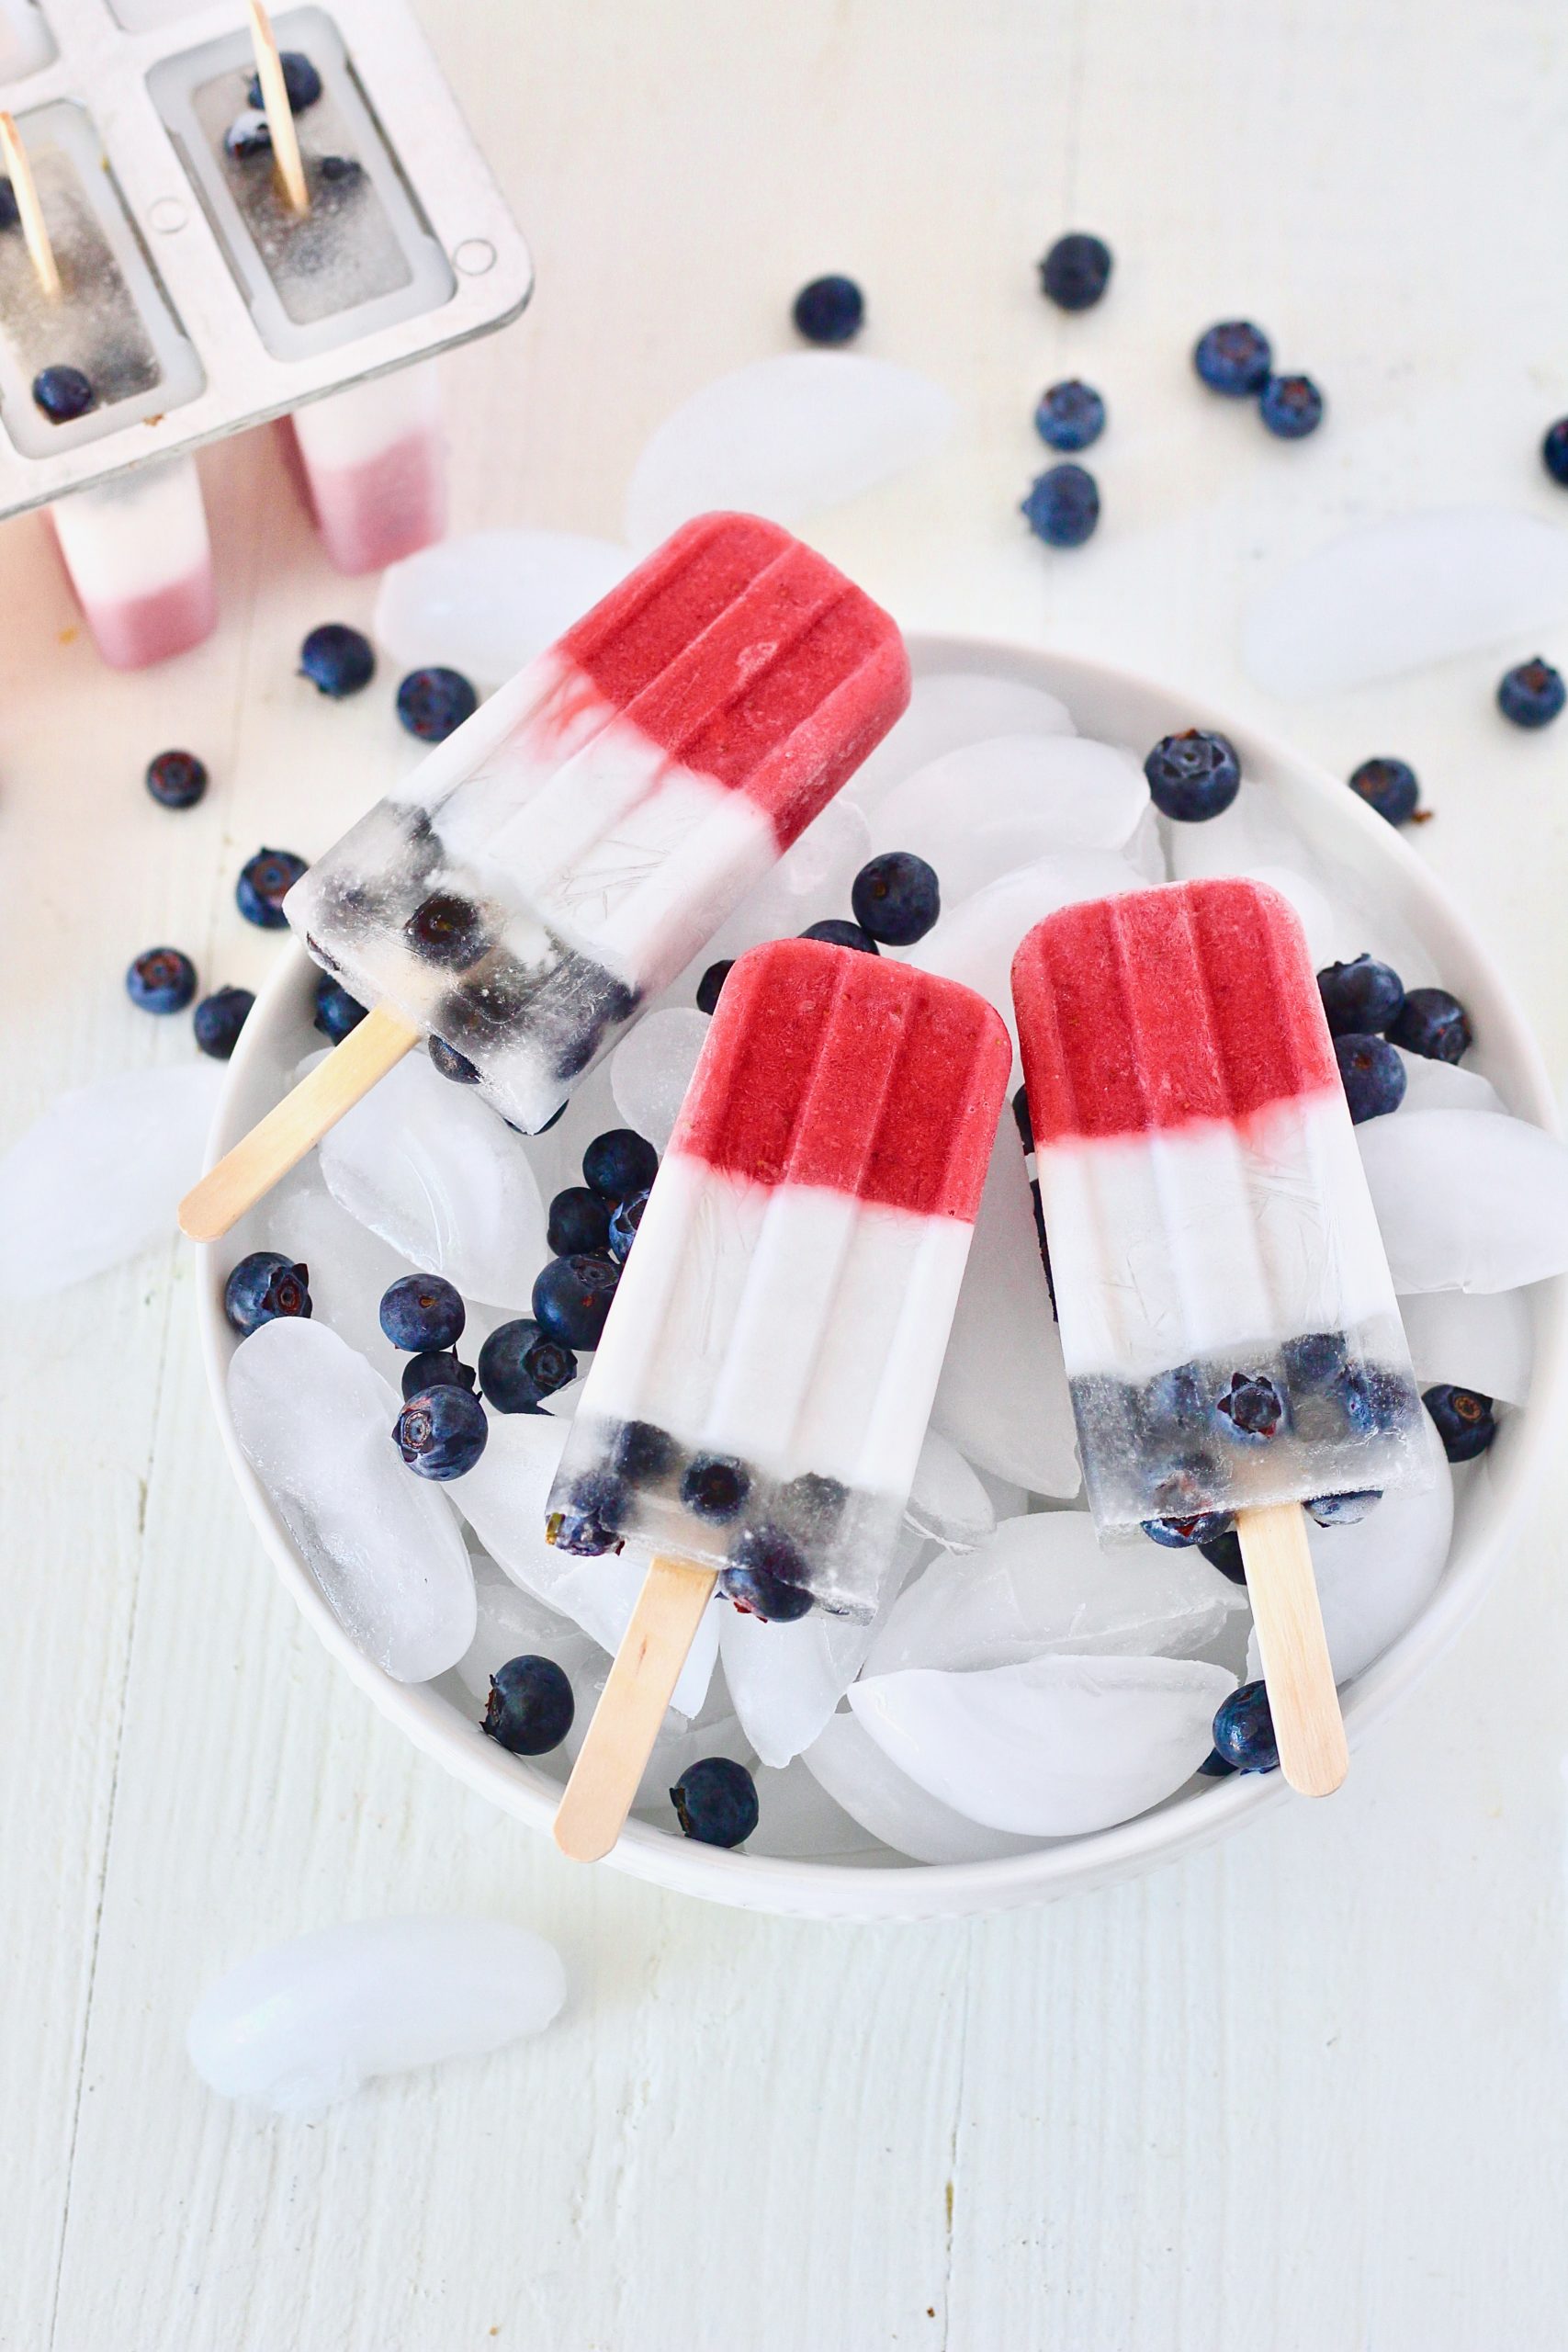
Equipment
- Popsicle mold
- Popsicle sticks
Ingredients
- 1 lb fresh strawberries
- 1 15oz. can coconut cream
- 1/2 cup fresh blueberries
- 1 cup coconut water
Instructions
- To make these super fun and patriotic pops, we’re going to make three different layers: Red, White and Blue.
To make the red layer
- Chop the green tops of the strawberries off.
- Blend the strawberries, 2 Tbsp coconut cream (make sure to stir it up before scooping), and 1/4 cup water in your blender.
- Fill the bottom of the popsicle molds 1/3 of the way full with the red mixture. If you want nice clean lines on your popsicle you can use a funnel over each mold to prevent any from sticking to the side.
- Place the molds in the freezer for 30 minutes.
To make the white layer:
- While the red layer is freezing, mix 1/2 cup of the coconut cream with 1/4 cup water. Whisk it together well.
- Once the red layer is semi-frozen, pull the pops out of the freezer and fill each mold another 1/3 of the way full with the white layer.
- You can also add in your popsicle sticks at this point too.
- Freeze for another 30 minutes.
To make the blue layer:
- Carefully drop as many blueberries as you can into each mold around the popsicle sticks.
- Then fill each mold to the top with coconut water.
- Freeze for 2-4 more hours.


One Response
The popsicles look wonderful. I’m going to give them a try. Question? I would like the middle white more like a lemony soft drink?