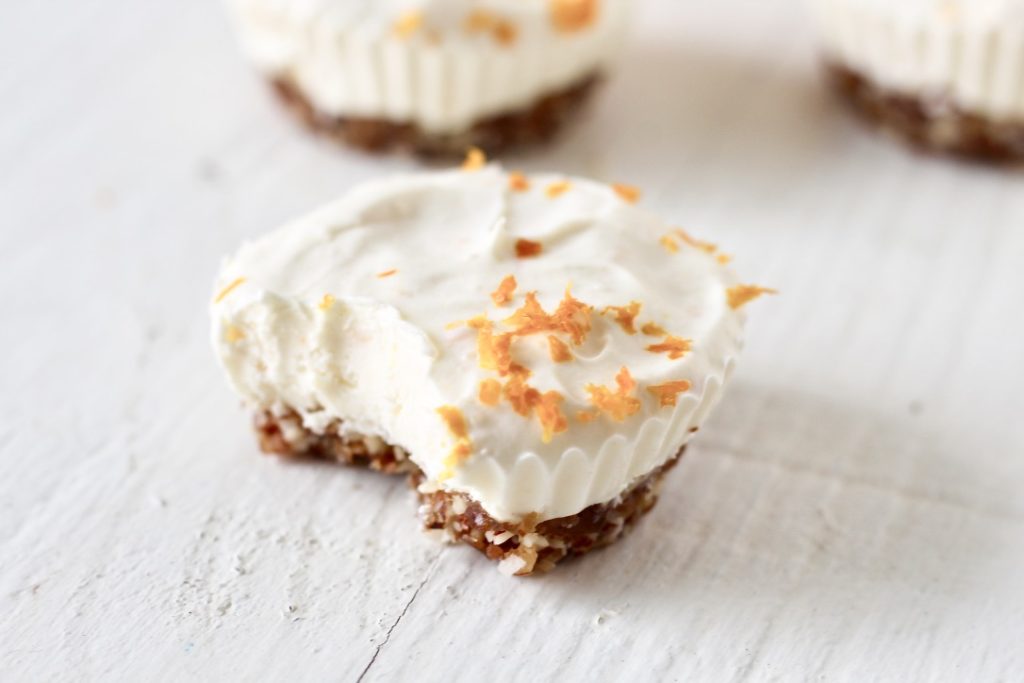
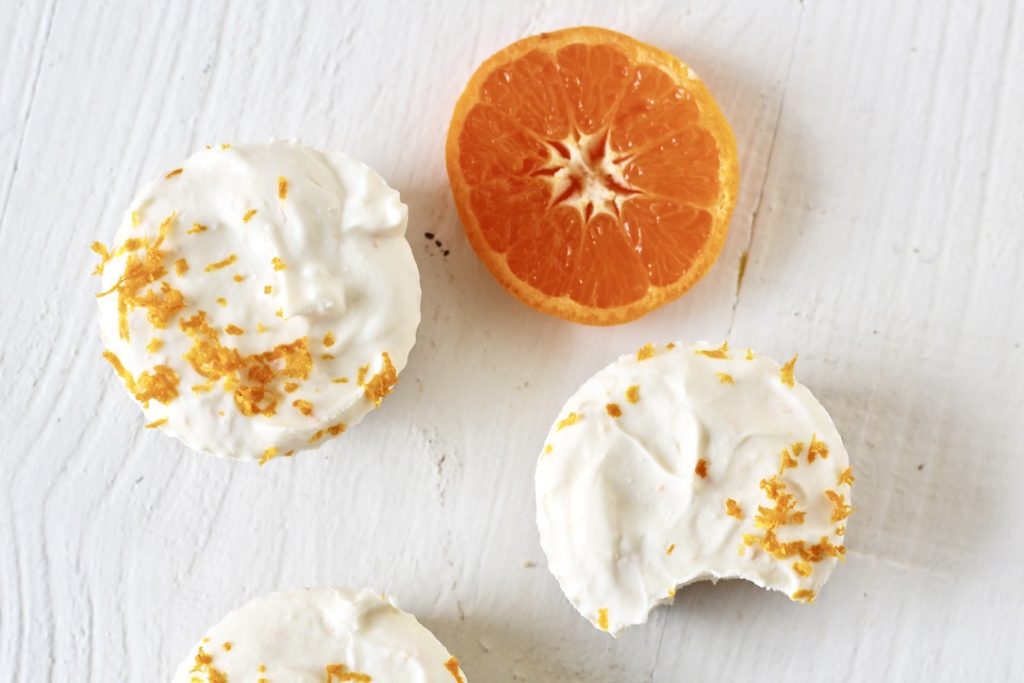
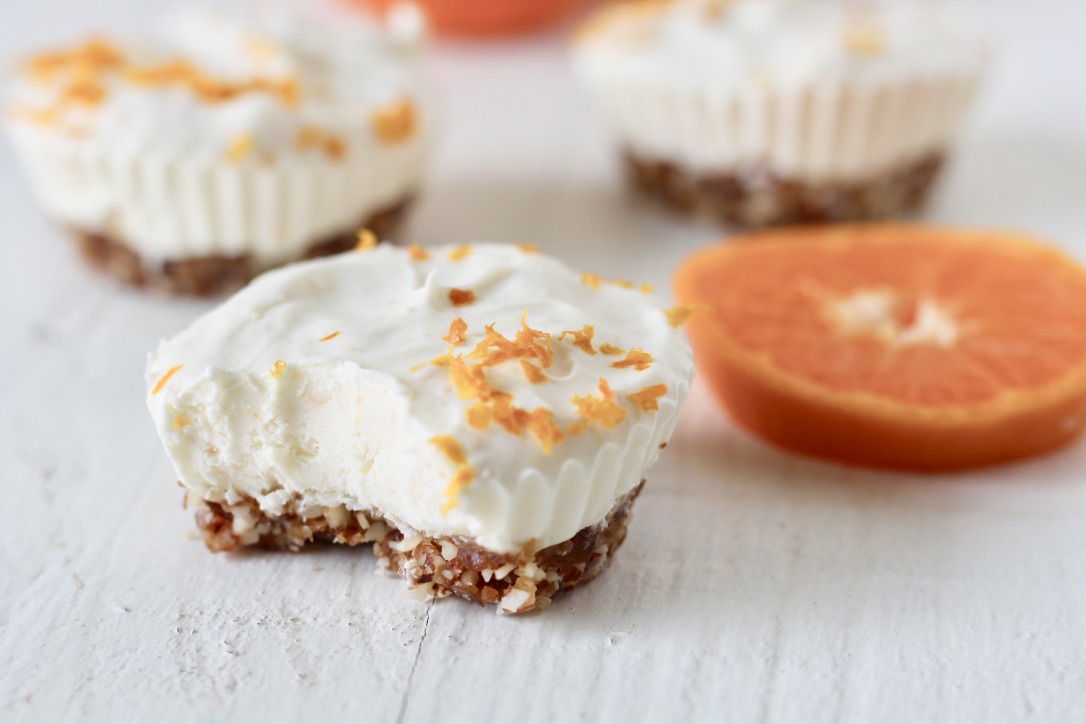
Orange No Bake Cheesecake Cups are full of citrus-y flavor and low in sugar. And did I mention they require zero cooking??
These no bake cheesecake cups are naturally gluten-free, grain-free, low-sugar, and pack in all the good fats with a salted almond crust. You can enjoy these treats at any time. On top of all that goodness, it’s also a no-bake recipe!
Just like lemon bars, but with oranges
Nothing says springtime like lemon bars do. They’re sweet yet tart, citrus-y, and zesty with a layer of creaminess on top of a crumbly shortbread base. But it’s also the middle of a world-wide pandemic and it can be difficult to find certain produce items right now… like lemons. So, I turned these into orange no bake cheesecake cups because that’s what I had ingredients for at home. So, if you want these no bake cheesecake cups to be lemon flavored, just swap the orange and orange juice for a lemon and some lemon juice.
My take on the classic recipe will give you all of those feel-good flavors and more! And if you love the orange flavor, make sure to check out my recipe for No Added Sugar Orange Creamsicles here.
How to make no bake cheesecake cups
Pull out your food processor, lid and all. The size doesn’t matter here because we only have about 1 cup’s worth of ingredients. You will also need a muffin pan.
You’re going to measure out a ½ cup of raw almonds and a ½ cup of packed pitted dates. I use deglet dates, but any kind will do! Pour these into your food processor along with the other crust ingredients: shredded coconut, almond extract, and a small pinch of salt. Make sure your cover is screwed on tight, unless you love crumbly confetti in your kitchen! Pulse until the mixture resembles large grains of sand (about 30 seconds)- it should be a little sticky.
Remove the bowl from the food processor, and line your muffin pans with liners to reduce the mess made. (I like to use silicone liners, but paper will work fine too.) With a tablespoon measuring spoon, scoop 2 loose tbsp of the crust mixture into each muffin cup. When you have used all of the crust mixture, use the back (the dome part) of the tablespoon measure or your fingers and press the crust down into the cups firmly.
For the filling, you can use your food processor, a blender, or even a bowl. Add all of the filling ingredients to your kitchen tool of choice: cream cheese, yogurt, maple syrup, coconut oil, orange zest, and orange juice. Blend or mix well so there are no lumps in the cream cheese and the filling is smooth.
With the tbsp measure, add 2 tbsp of the filling on top of the crust. Place the orange no bake cheesecake cups in your freezer to set for 1-2 hours. They store well in the fridge for 7 days or the freezer for 30 days!
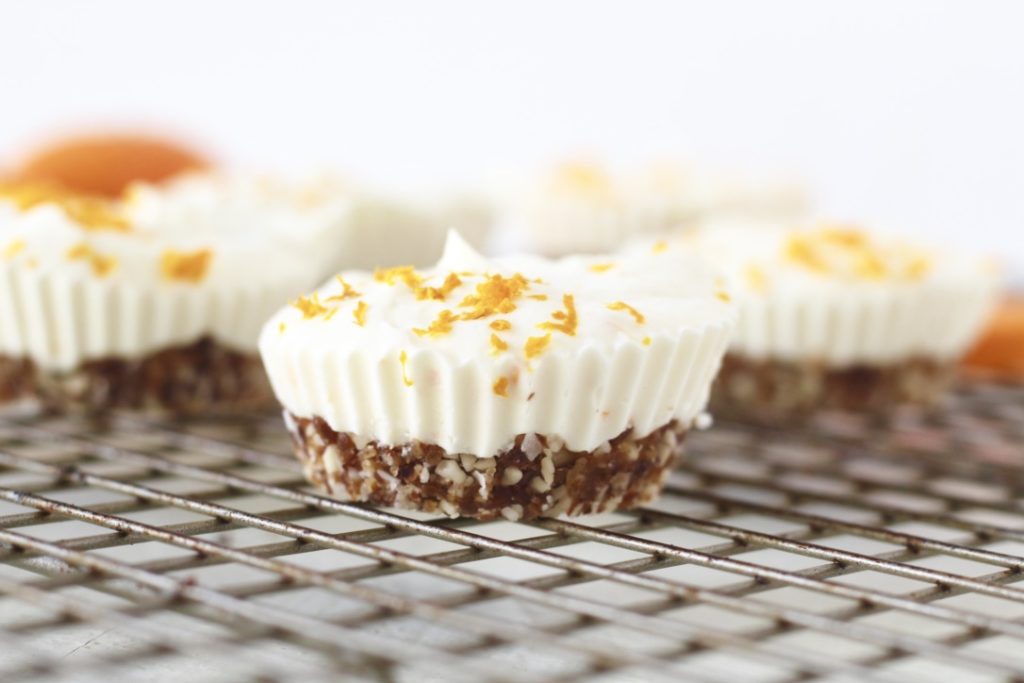

Orange No Bake Cheesecake Cups
Equipment
- Food processor
Ingredients
Crust
- ½ cup raw almonds
- ½ cup dates pitted
- 2 tbsp shredded coconut
- ½ tsp almond extract
- 1 pinch sea salt
Filling
- 8 oz. cream cheese softened
- ½ cup plain Greek yogurt
- 1 tbsp maple syrup
- ¼ cup orange juice
- 2 tbsp coconut oil
- Zest from 1 orange
Instructions
- Line a muffin tin with liners (I prefer the silicone kind).
- To your food processor, add all of the crust ingredients: almonds, dates, coconut, almond extract, and salt.
- Pulse this until the mixture resembles large grains of sand and is slightly sticky, about 30 seconds.
- With a tablespoon measure, measure 2 loose tbsp of crust into each muffin cup until you run out. For the muffin tins, use the dome side of the tbsp measure to firmly press the crust down into the bottoms of the cups.
- Next, add all of the filling ingredients to a blender or bowl. Blend or mix until there are no cream cheese lumps and the mixture is smooth.
- Measure 2 tbsp of the filling on top of each crust.
- Set the pan in the freezer for 1-2 hours so it can firm up. These cups will keep for 7 days in the fridge or up to 30 days in the freezer. Enjoy!

