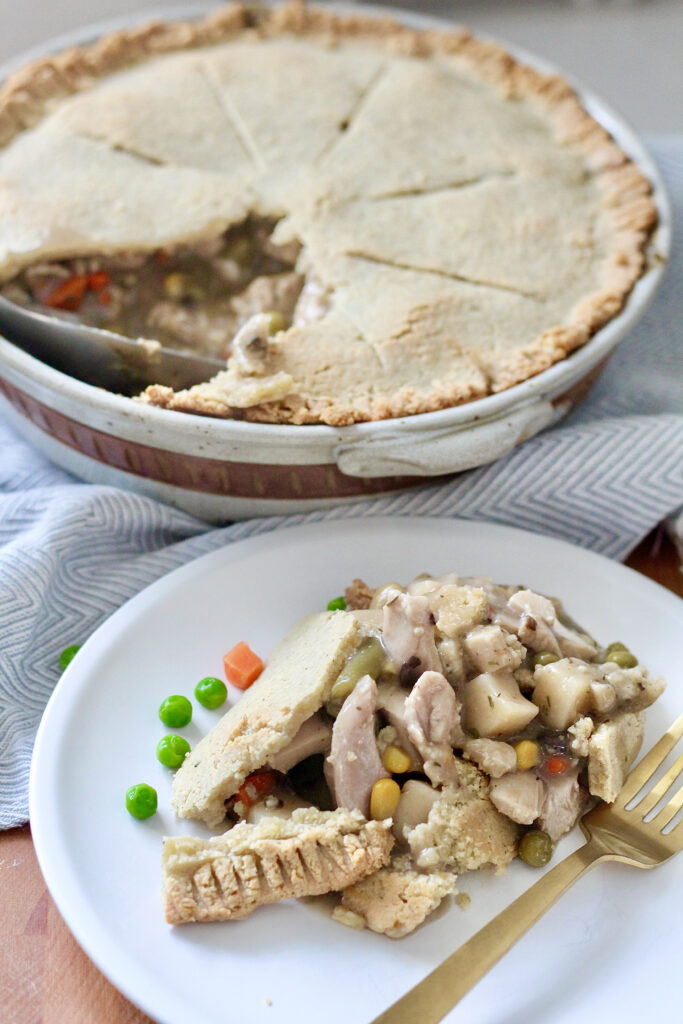
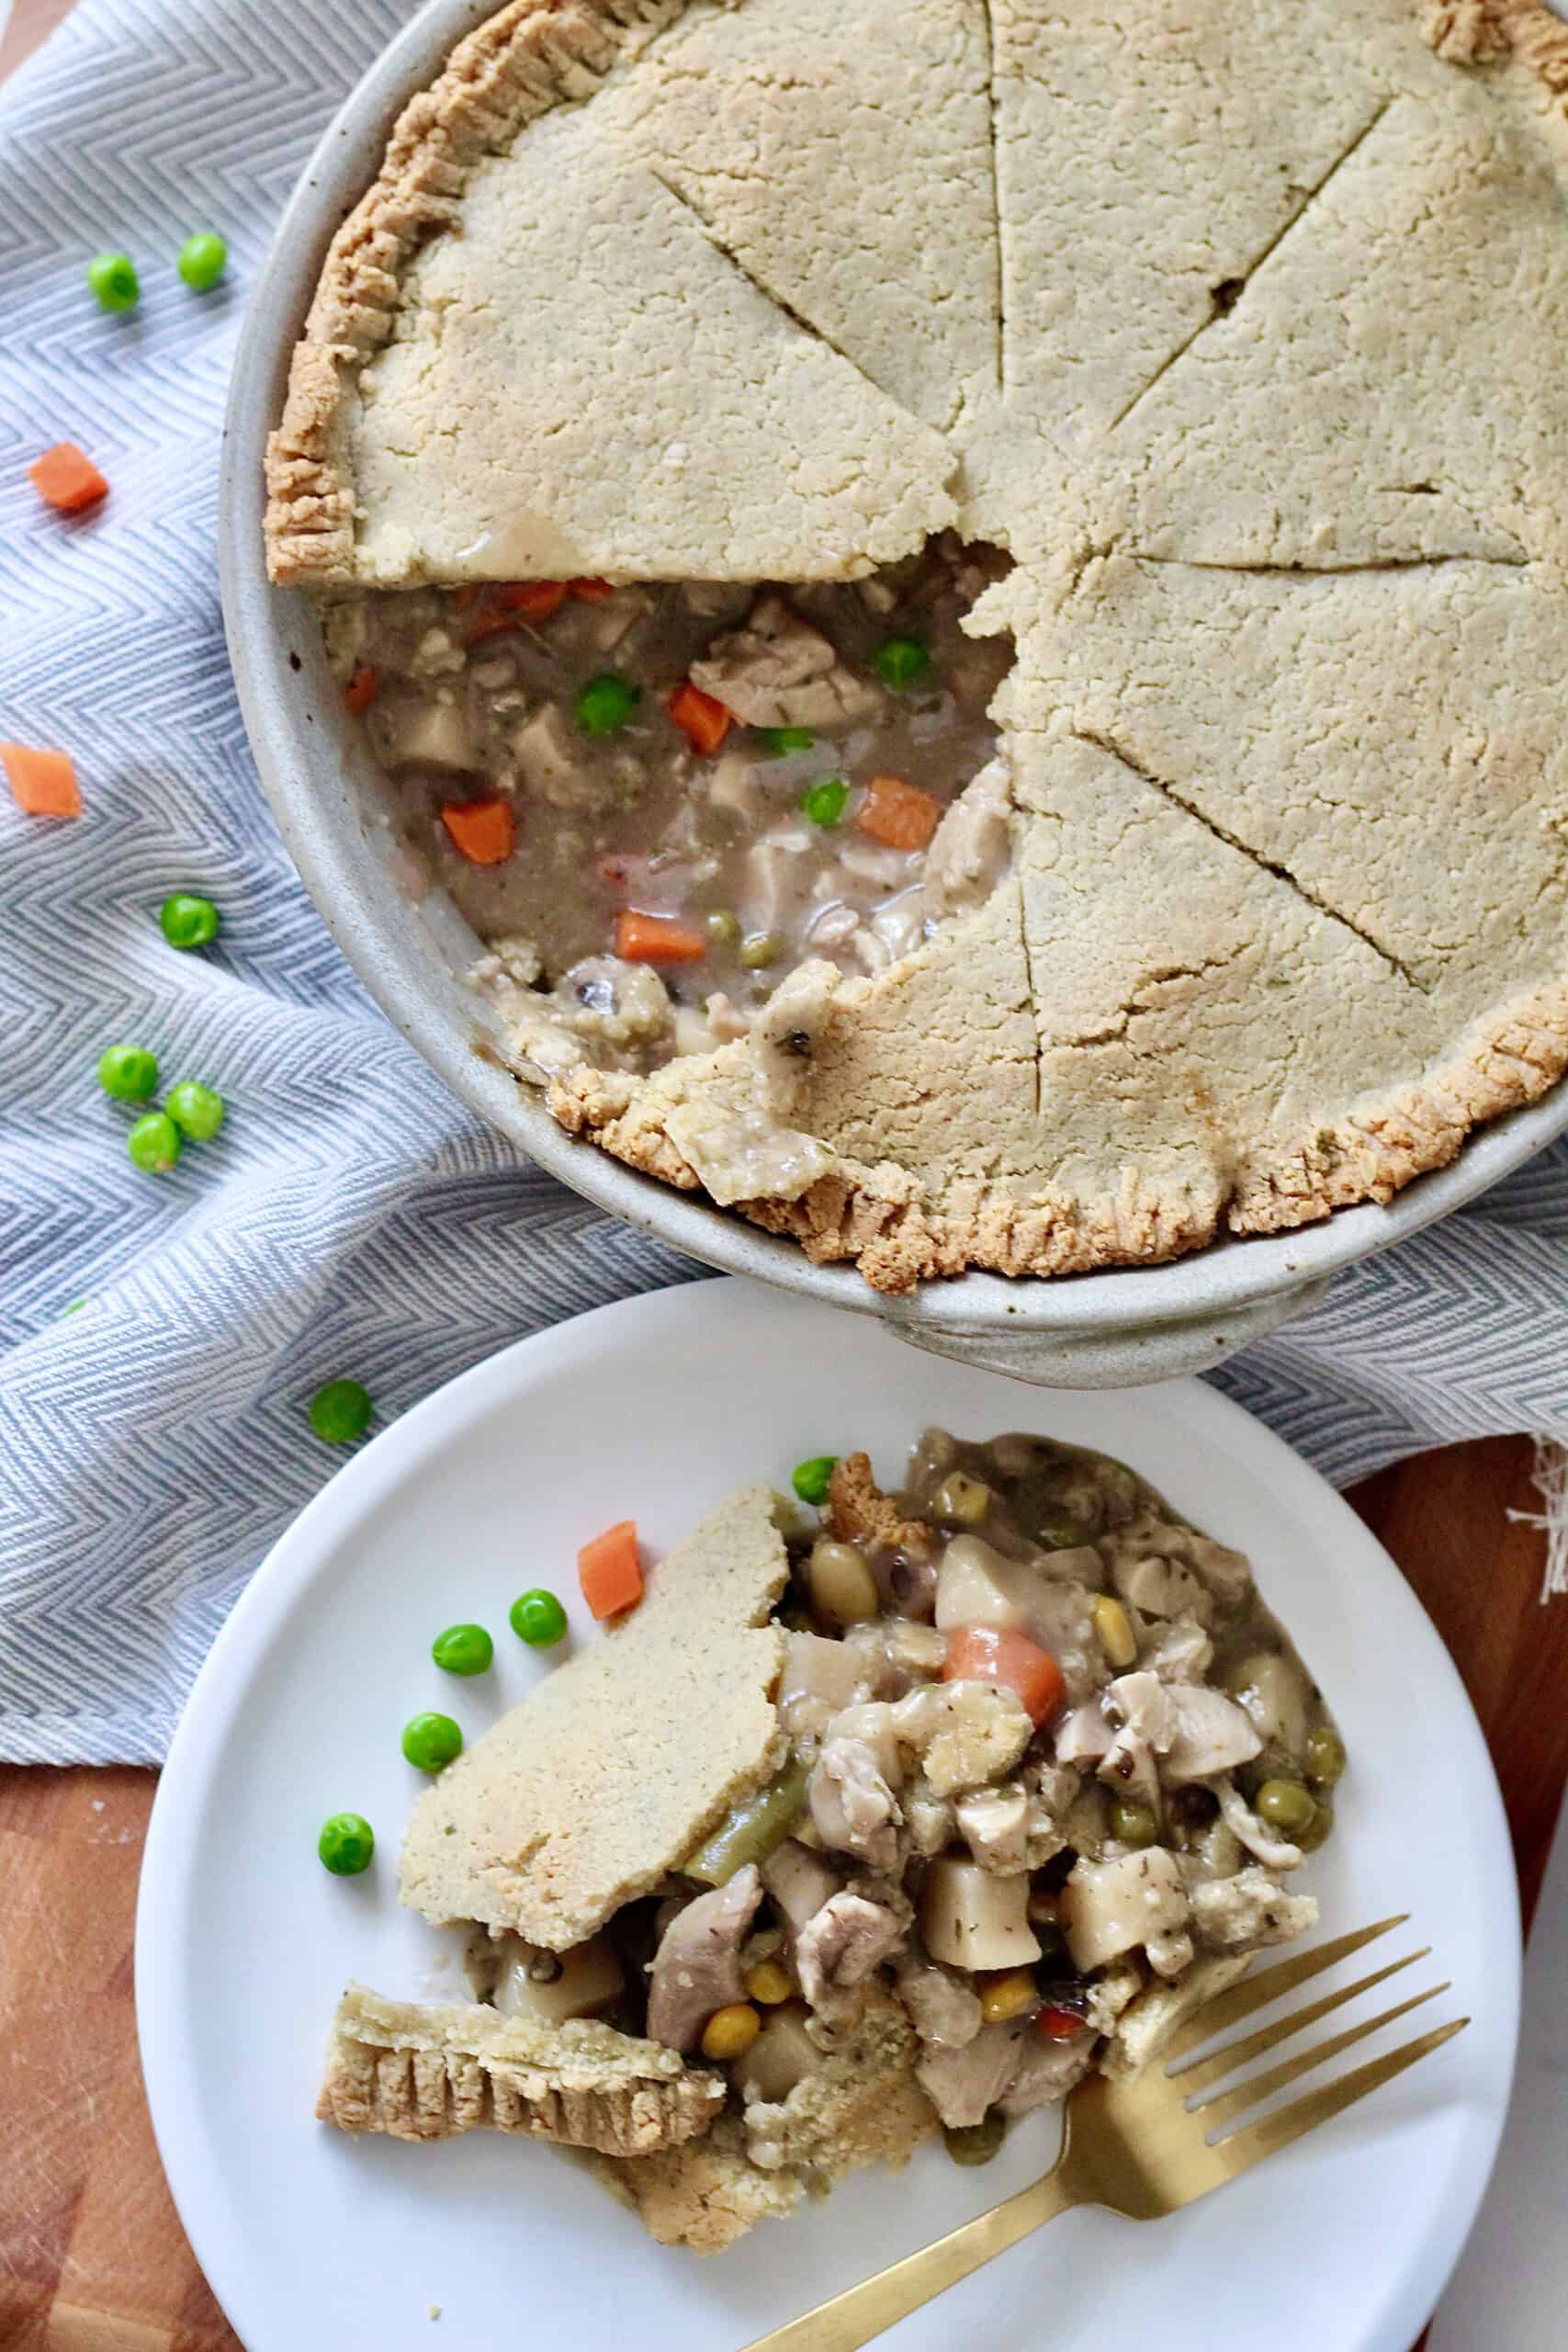
This Gluten Free Chicken Pot Pie recipe is delicious, easy, and a hit for the whole family!
This recipe for healthy gluten free chicken pot pie offers a delicious, blood sugar friendly option that is perfect for a warm and cozy dinner. You can go all out and make the whole thing from scratch or I also offer some shortcut time-saving options as well.
My healthy chicken pot pie recipe makes the ultimate comfort food
With its savory taste and buttery flaky crust, chicken pot pie is one of the ultimate comfort foods! The filling has a creamy sauce and a flavorful mix of chicken and vegetables your whole family will love. It does not take long for the kitchen to smell like heaven!
I recommend using chicken thighs for a chicken pot pie. Chicken thighs create a more tender and juicier dish, perfect for this hearty meal!
Is a chicken pot pie healthy and diabetes friendly?
Is chicken pot pie healthy for you? Or more specifically, is chicken pot pie diabetes friendly? Many chicken pot pie recipes are high in carbohydrate. And, combined with the higher fat content of a pot pie recipe, this can lead to extended blood sugar spikes.
For this recipe, I took my go-to sweet pie crust recipe and made it savory! Overall, the dish has less than half the amount of total carbohydrate of traditional chicken pot pie recipes and still packs 25g+ protein per serving!
Can people with diabetes eat pot pies?
Yes! But, as I referenced above, it’s important to pay attention to the overall carbohydrate count as well as the fat content of most recipes. If your body is not used to higher carbohydrate meals, it may have a hard time processing a meal that is both high carb and high fat, and you may find yourself with higher blood sugars for an extended period of time. Look for recipes that are lower in total carbohydrates like my recipe below!
What makes a GF chicken pot pie?
Chicken pot pie can most definitely be made gluten free! Made with almond flour and gluten free oats, this pie crust is completely gluten free.
For the filling, I like to use a store bought gluten free cream of mushroom soup, so it’s safe for those with gluten intolerances and allergies.
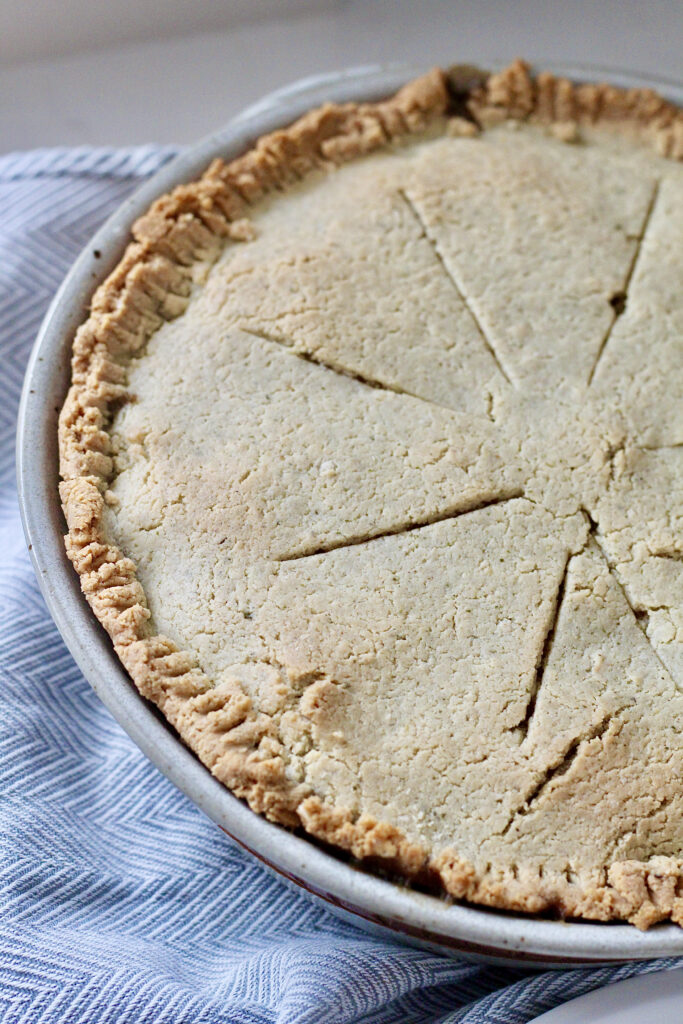
Tips for making gluten free chicken pot pie crust
To make our gluten free pie crust, we’re making a savory version of my go to sweet pie crust recipe. We cut out the sugar and add in seasonings like garlic powder and dried parsley. Here’s a few tips to make it as easy as possible:
- Use a food processor to blend everything together. This will grind the oats and incorporate the butter at the same time.
- Wet your hands slightly before starting to press out the dough.
- For the top/second pie crust, roll it out onto parchment paper and flip it over on top of your pot pie mixture once you’re ready.
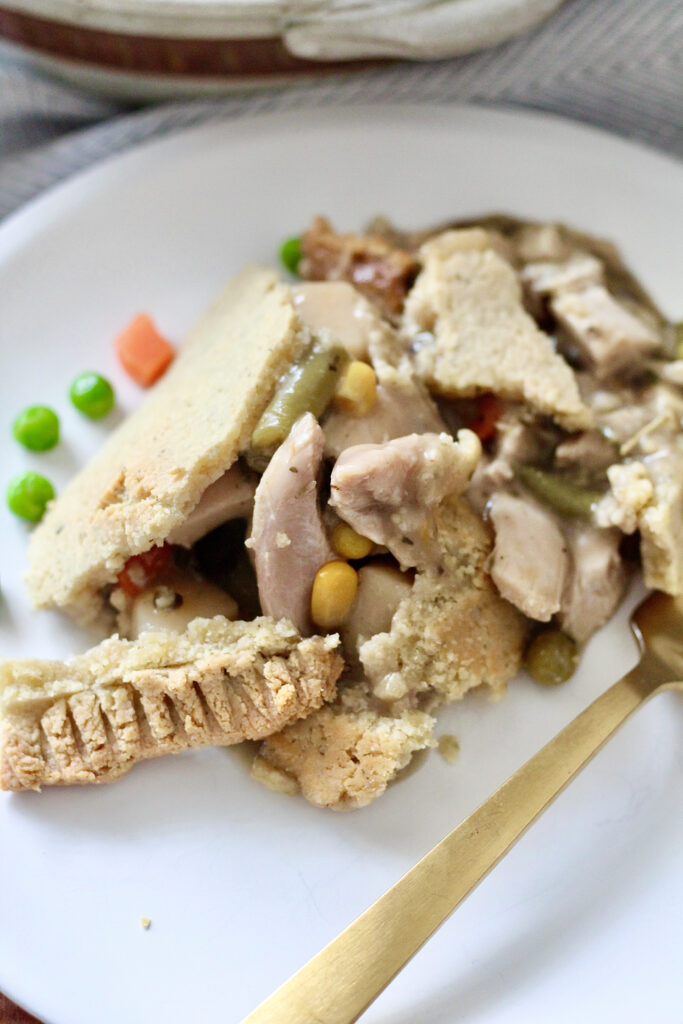
How to make gluten free chicken pot pie
There aren’t many ready-made chicken pot pie recipes on the market that are gluten free. And, forget about finding one that’s both gluten free and blood sugar friendly. So, I recommend making our crust from scratch, like we do in this recipe, and then we can use some convenience products from the grocery store to save time for the filling:
- Homemade blood sugar friendly pie crust
- Canned cream of mushroom condensed soup
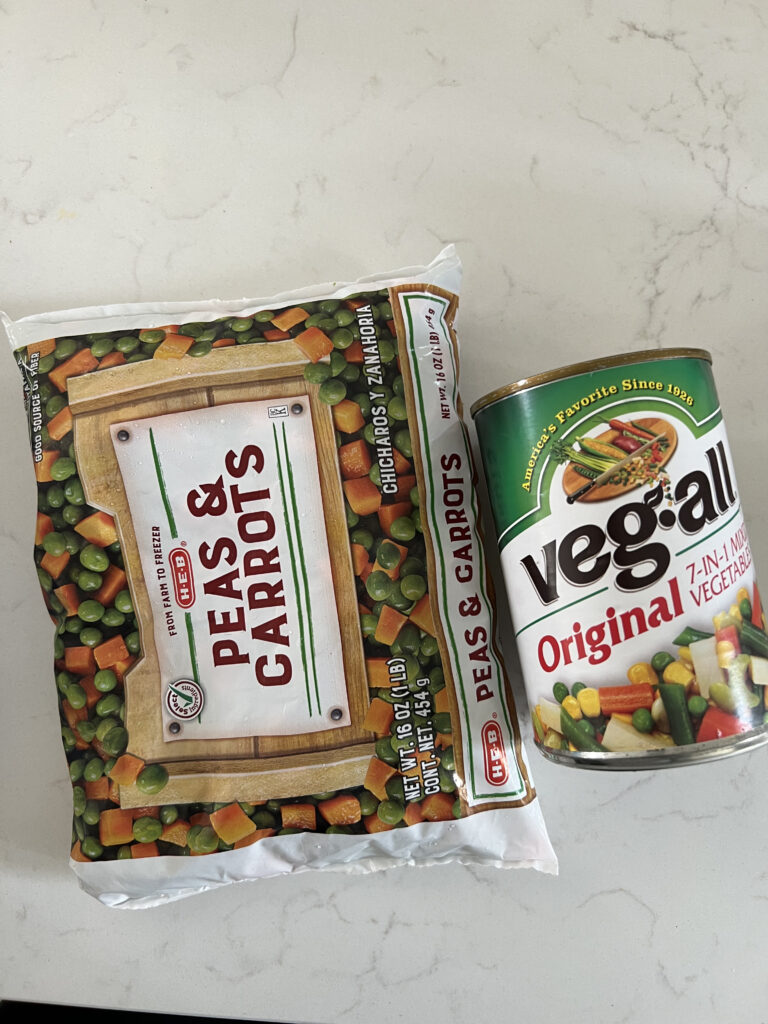
- Frozen veggies or canned veggies* work great
*If using canned veggies, make sure to drain the liquid off. My mom always used Veg All in her pot pie recipe growing up so I’m partial to using it when I have it on hand.

Healthy Gluten Free Chicken Pot Pie
Ingredients
Crust ingredients
- 3 cups almond flour
- 1 cup oats
- 6 Tbsp unsalted butter
- 2 large eggs
- 1 tsp garlic powder
- 1/2 tsp salt
- 1/2 tsp black pepper
- 1 tsp dried parsley flakes
Filling ingredients
- 1 1/2 lbs boneless chicken thighs
- 16 oz. frozen peas, carrots, corn can also use canned veggies
- 24 fl oz. cream of mushroom condensed soup
- 1 Tbsp Italian seasoning
- 1 tsp garlic powder
Instructions
- Preheat your oven to 350 degrees.
- Add you chicken thighs to a large pot of boiling water and cook for 20-25 minutes or until cooked through.
- While the chicken is cooking, we will prepare our crust. Add all of the crust ingredients to the bowl of a large food processor and process for about 60 seconds until you can see all of the butter has been incorporated and a dough ball has formed.
- Next, divide the dough into two equal sections. Press the first section into the bottom and up the sides of a greased 8-9inch pie dish. Set this aside.
- Once the chicken is cooled, shred it into bite size pieces and place it in a large mixing bowl. Add your remaining filling ingredients to the bowl and stir to combine.
- Pour the filling in the middle of the pie plate on top of the bottom crust. Make sure tp spread the filling out evenly.
- Now, roll out the remaining section of pie crust dough on top of a piece of parchment paper. Make it into a circle that is slightly bigger than your pie plate. Then, carefully turn the pie crust over on top of the pie plate. It should release easily from the parchment paper.
- Pinch the sides of the pie crusts together to seal the filling inside.
- Using a small knife, score the top to allow the mixture to vent while baking.
- Bake for 45-60 minutes until the crust is a nice golden brown.
- Let sit for 10-15 minutes before serving. Enjoy!
Notes
Nutrition
Other chicken recipes to try!
Looking for more yummy chicken recipes like this gluten free chicken pot pie? Check out this round up of delicious blood sugar friendly and gluten free chicken recipes.

This recipe has been updated since it was originally posted in 2019.






One Response
I didn’t think condensed mushroom soup,was diabetic friendly and what kind of oats? Thank you